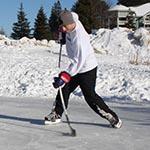
A big problem for a lot of people who want to practice their shot is they do not have the space. In order to work on your shot at home you typically need a hockey net, and a big enough area to practice shooting from a distance. These obstacles usually keep people from practicing their shot at home. Even if you do have the space to shoot at home, you may not shoot as much as you like because of bad weather, night fall, or other reasons. Luckily I have found a solution
You can practice your shot inside!
In the video below I share a trick that will let you improve your shot in the comfort of your own home. The important part is using the right technique, and knowing what you want to improve.
Products I use in the video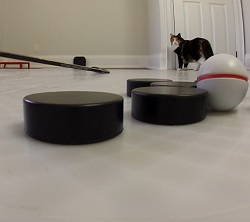
- Cat – not for sale
- Dryland training tiles (see my review) – $10.95 per tile
- Squishy hockey pucks – .99 cents on Amazon
- Hockey shot stick weight – $10.95 on HockeyShot
- Radar Gun (see my review) – $139.95 on HockeyShot – use our coupon code to save $10
How to improve your shot inside
- Make sure you have a smooth surface to protect the floor, and a soft object to shoot.
- Give yourself enough room for a full shot and follow through
- Watch out for animals
- Make sure you practice good technique
- Have a goal in mind (better weight transfer, faster snap, quicker release, more power, etc)
- Make sure you also practice outside or on the ice with real pucks, keep track of the technique you use there and try to replicate it inside.
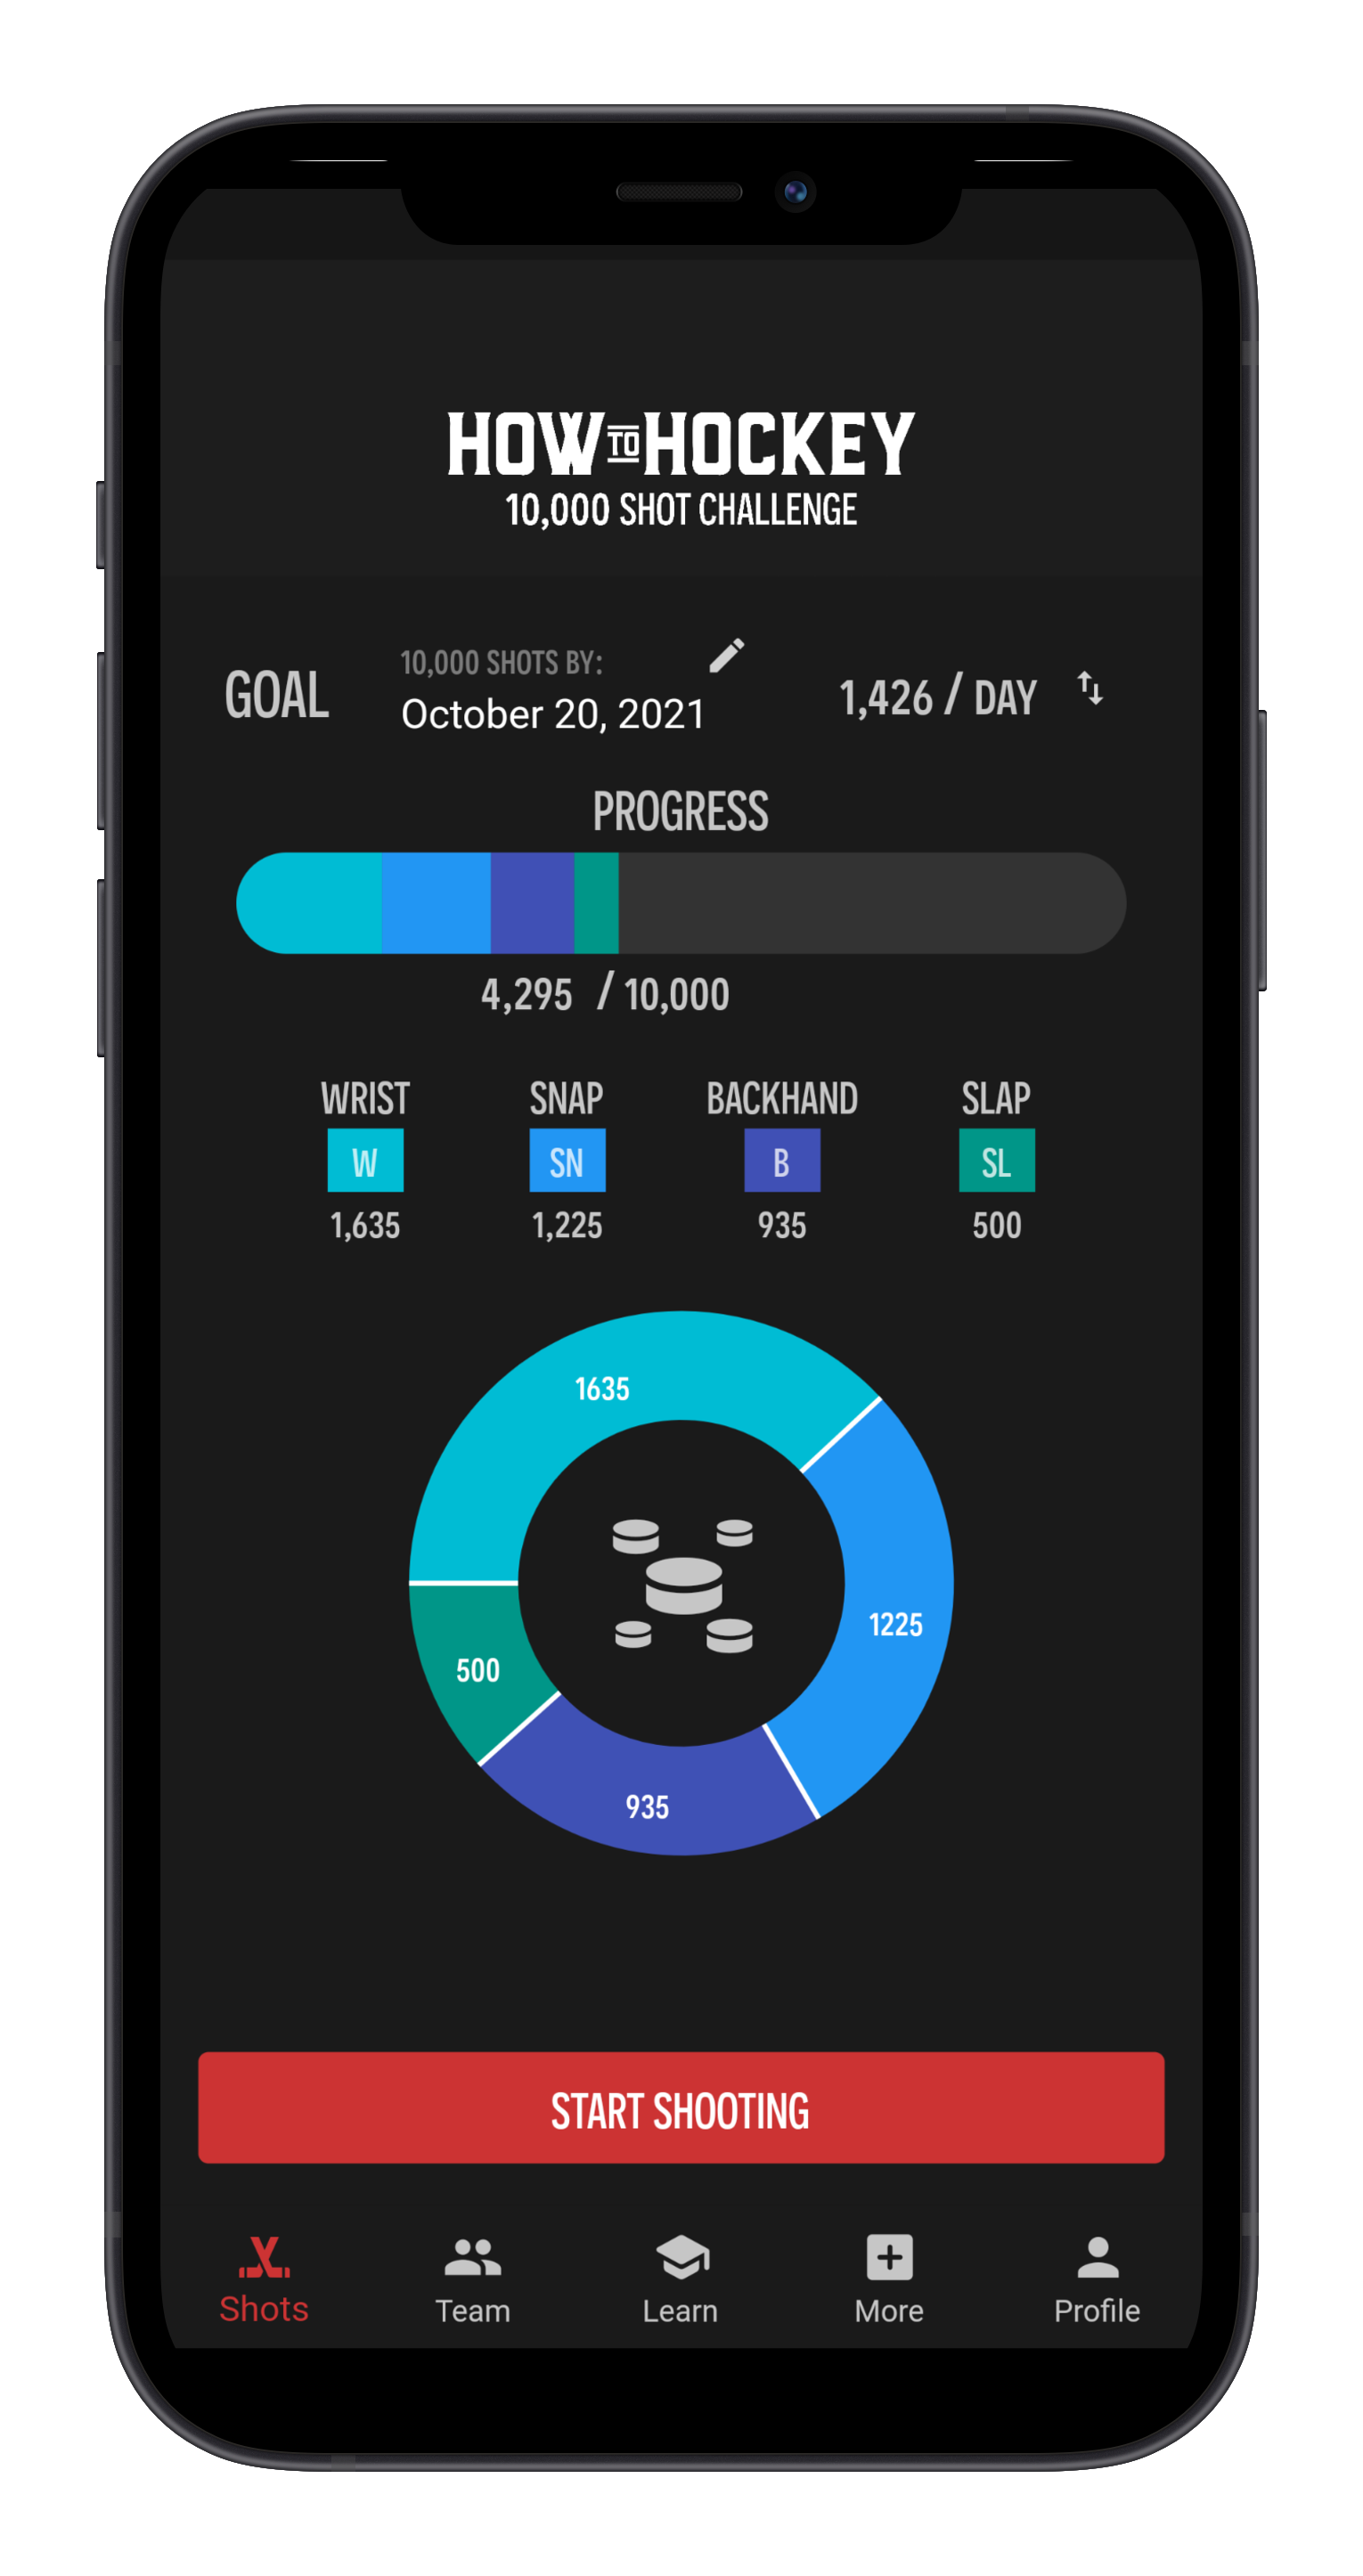
Keep track of how many shots you are taking!
 I have just released the iSnipe app which will help you track how many shots you have taken. The app also has 16 video tips from me, a buzzer beater training tool, and a quick release training tool. For details visit my iSnipe page, or you can buy it in the app store.
